If you're researching how to wire Viofo A139 Pro to Rivian R1T without voiding warranty, the short answer for 2026 is this: use a Rivian-safe, non-permanent tap point (the rear cargo accessory fuse, an OBD-II Y-cable, or the 12V cargo socket), never splice into the high-voltage harness or the factory 12V harness, and document the install so Rivian Service can verify the dash cam didn't cause any electrical fault. Rivian's owner warranty doesn't blanket-void on accessories, but it does exclude damage caused or contributed to by aftermarket electrical work. Stay reversible, stay fused, and you stay covered.
The 60-second answer
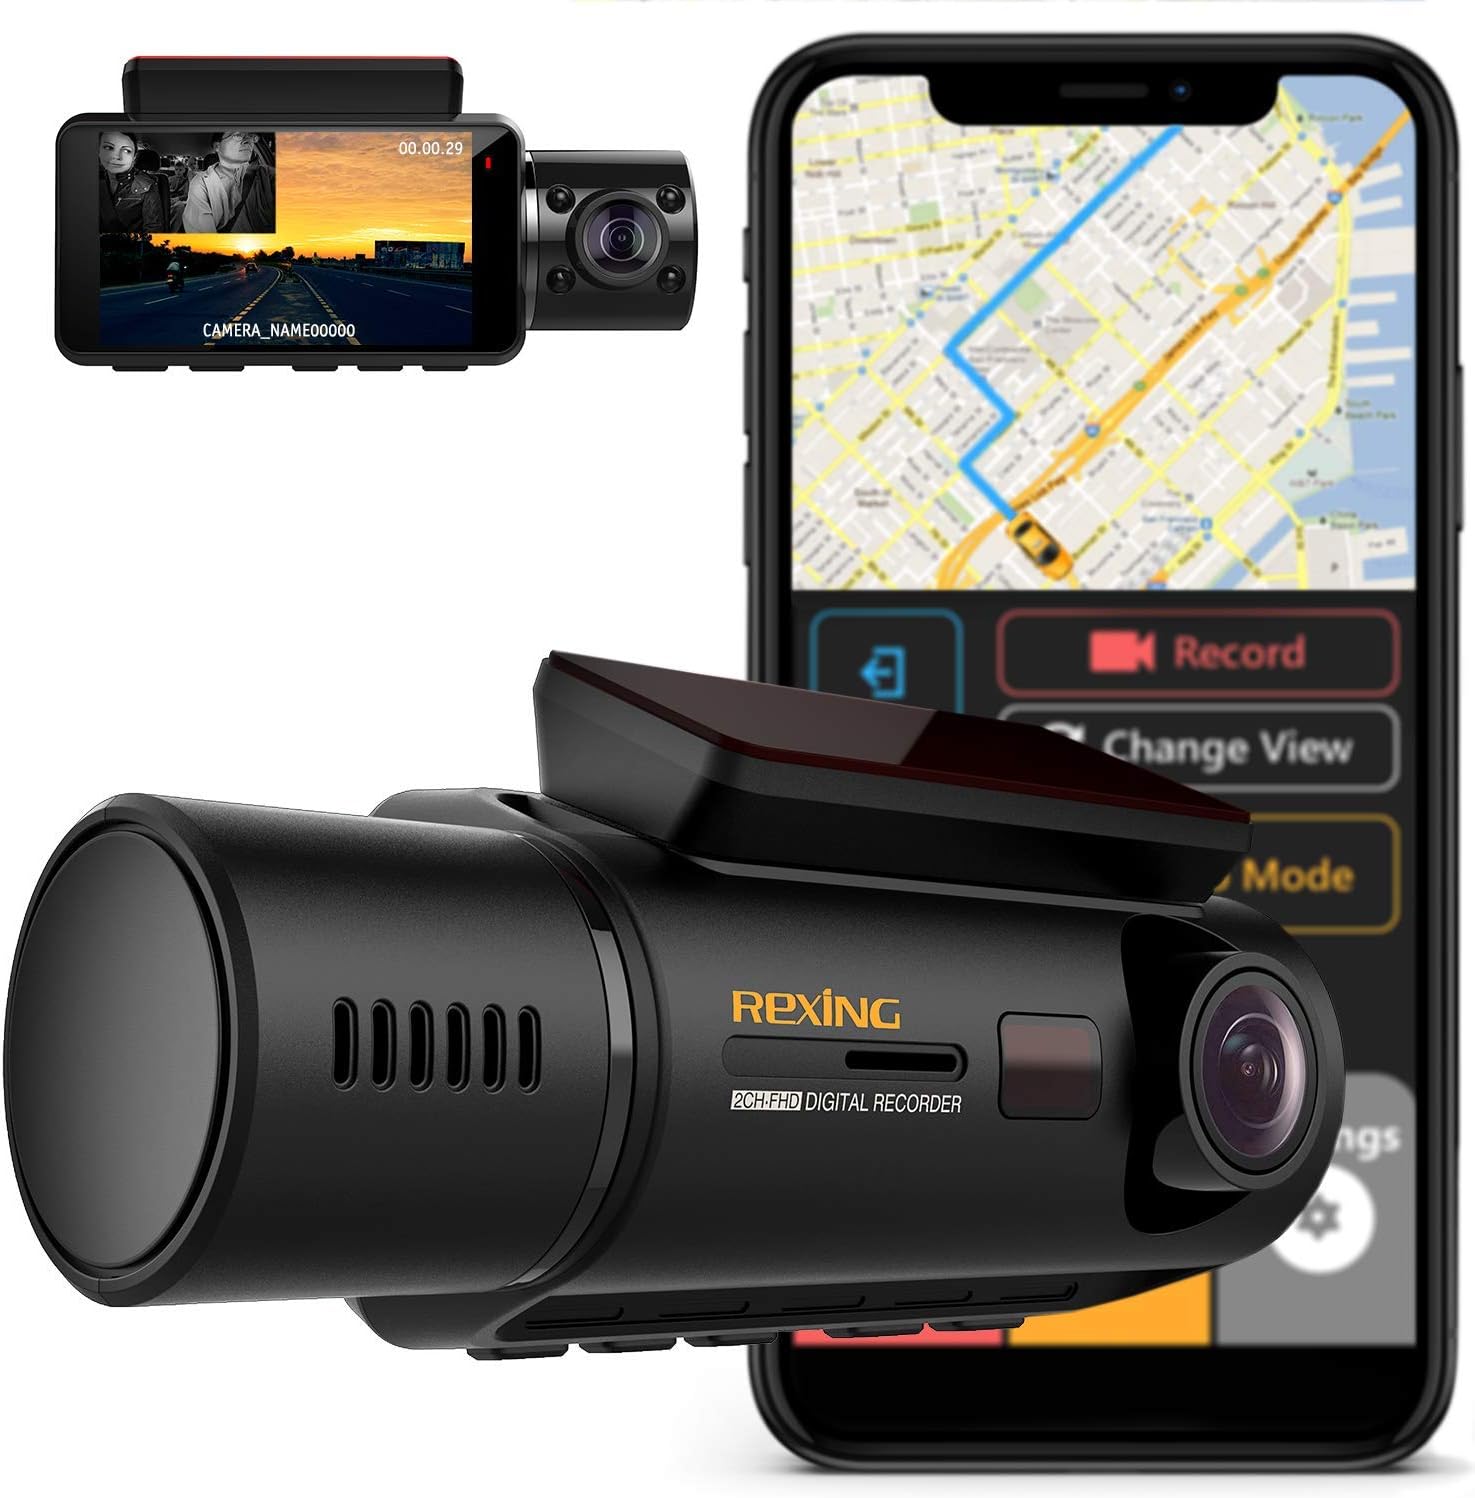
The Viofo A139 Pro ships with a 3-wire hardwire harness (BATT/ACC/GND) plus an optional HK4 ACC harness. To install it in a 2024-2026 Rivian R1T without warranty exposure, you have three approved routes:


- Fuse-tap method — a Micro2 add-a-circuit on the rear cargo fuse panel (slot F39 on Gen 1 R1T, F22 on Gen 2), fused at 5A on the dashcam side.
- OBD-II hardwire — Viofo's HK4 with an OBD-II Y-splitter. Plug-and-play, no fuse box access needed.
- 12V cargo socket — Viofo's USB-C ACC cable into the bed or center console 12V port. Fully reversible.
All three are reversible. None of them cut, splice, or solder into the factory harness, which is the specific behavior Rivian Service flags as warranty-impacting. Below I'll walk through each option, exact fuse positions, and what to photograph before you button up the trim.
Why Rivian's warranty language actually matters
Rivian's New Vehicle Limited Warranty (2024-2026 versions) doesn't say "any aftermarket install voids your coverage." What it actually excludes is damage caused by improper installation of non-Rivian accessories, including modifications to the wiring harness. Practically: if your A139 Pro pulls 200mA at idle and drains the 12V auxiliary battery, blows a tap fuse that takes out a downstream module, or back-feeds the 12V system during a low-voltage event, Rivian Service can decline the claim on the affected circuit only. The rest of the truck stays covered.
That's the bar you're clearing. So how to wire Viofo A139 Pro to Rivian R1T without voiding warranty comes down to three rules: (1) protect every leg with an inline fuse, (2) don't tap a circuit shared with a safety-critical module (airbag, ABS, BMS), and (3) leave the install reversible enough that a Rivian tech can pull it in five minutes.
Three Rivian-safe power options compared
Here's how the three approved tap methods stack up for a 2026 R1T install:
| Method | Reversible | Parking mode? | Install time | Warranty risk |
|---|---|---|---|---|
| Rear cargo fuse tap (F39 / F22) | Yes | Yes — 24/7 buffered | ~45 min | Very low |
| OBD-II hardwire (HK4 + Y-splitter) | Yes | Yes — ~30 min after lock | ~10 min | Lowest |
| 12V cargo socket (USB-C ACC) | Yes | No — drive only | ~5 min | None |
| Direct splice to harness | No | Yes | 2+ hrs | High — avoid |
Option 1: Fuse tap on the rear cargo accessory fuse
This is the install most R1T owners settle on because it gives true 24/7 parking mode with the cleanest wire routing. The rear cargo fuse panel sits behind the right-rear interior panel in the bed. On Gen 1 trucks, slot F39 is a 10A always-on circuit ideal for the BATT lead; F41 is ACC. On Gen 2 (model year 2025+), Rivian renumbered — F22 is the always-on equivalent and F25 is ACC. Use a Micro2 add-a-circuit fuse tap rated 5A on the dashcam side, route the BATT/ACC leads up the C-pillar, across the headliner, and down behind the A-pillar trim to the A139 Pro. Ground to an existing chassis bolt behind the panel, never to a body panel screw you added yourself.

Verify the install with a multimeter before reassembly: the BATT leg should read ~12.6V with the truck off, and the ACC leg should drop to 0V once Gear Guard goes to sleep (typically 20-40 minutes after lock). For deeper interior-routing detail, see our full Rivian R1T dashcam install guide.
Option 2: OBD-II hardwire (HK4 + Y-splitter)
For owners who don't want to touch interior trim, this is the path of least resistance. Buy Viofo's HK4 ACC hardwire kit plus a standard OBD-II Y-splitter (the same kind Tesla owners use). The Y-splitter plugs into the R1T's OBD-II port behind the lower driver-side dash panel, the HK4 plugs into one branch, and the other branch stays open for diagnostics. Total install time is under ten minutes, and there is literally nothing to undo — Rivian Service unplugs one connector and the truck is stock.
The trade-off: the OBD-II port stays live for about 30 minutes after lock on the R1T (it's how Rivian's mobile app reaches the gateway), then goes to sleep. So you get partial parking-mode coverage rather than true 24/7. For most owners that's the right compromise. We compare both approaches in detail in our OBD vs fuse-tap hardwire breakdown.

Option 3: 12V cargo socket (simplest, no parking mode)
If you only need driving-mode coverage and want zero install commitment, grab Viofo's USB-C ACC adapter and plug it into the 12V socket in the bed (R1T) or under the center console armrest. The cam runs when the truck is awake and powers off when the truck sleeps. No fuse taps, no OBD-II, no warranty conversation to have with Rivian Service. Just remember it doesn't supplement Gear Guard — the A139 Pro will be dark in the parking lot.
Step-by-step wiring procedure (fuse-tap method)
These are the exact steps for how to wire Viofo A139 Pro to Rivian R1T without voiding warranty using the fuse-tap option. Allow about 45 minutes for a first-time install.
- Park, lock, and wait 30 minutes so the high-voltage system fully de-energizes before any panel comes off.
- Pop the right-rear bed interior panel — three plastic clips, no screws. The fuse panel is behind it.
- Identify your fuse position: F39 (Gen 1) or F22 (Gen 2) for BATT; F41 or F25 for ACC. Confirm with a 12V test light before pulling anything — Rivian has revised the layout once already.
- Install the Micro2 add-a-circuit with a 5A fuse on the dashcam side and the original fuse value on the truck side.
- Route the harness up the C-pillar, across the headliner (tuck under the trim, don't pinch), and down behind the A-pillar trim to the A139 Pro mount.
- Ground to an existing chassis bolt behind the trim.
- Set the A139 Pro low-voltage cutoff to 12.4V — the R1T's 12V auxiliary battery is small and you do not want to strand it.
- Photograph every step — fuse position, tap orientation, routing, ground bolt. If you ever need a warranty claim on an unrelated system, those photos prove the install was clean.
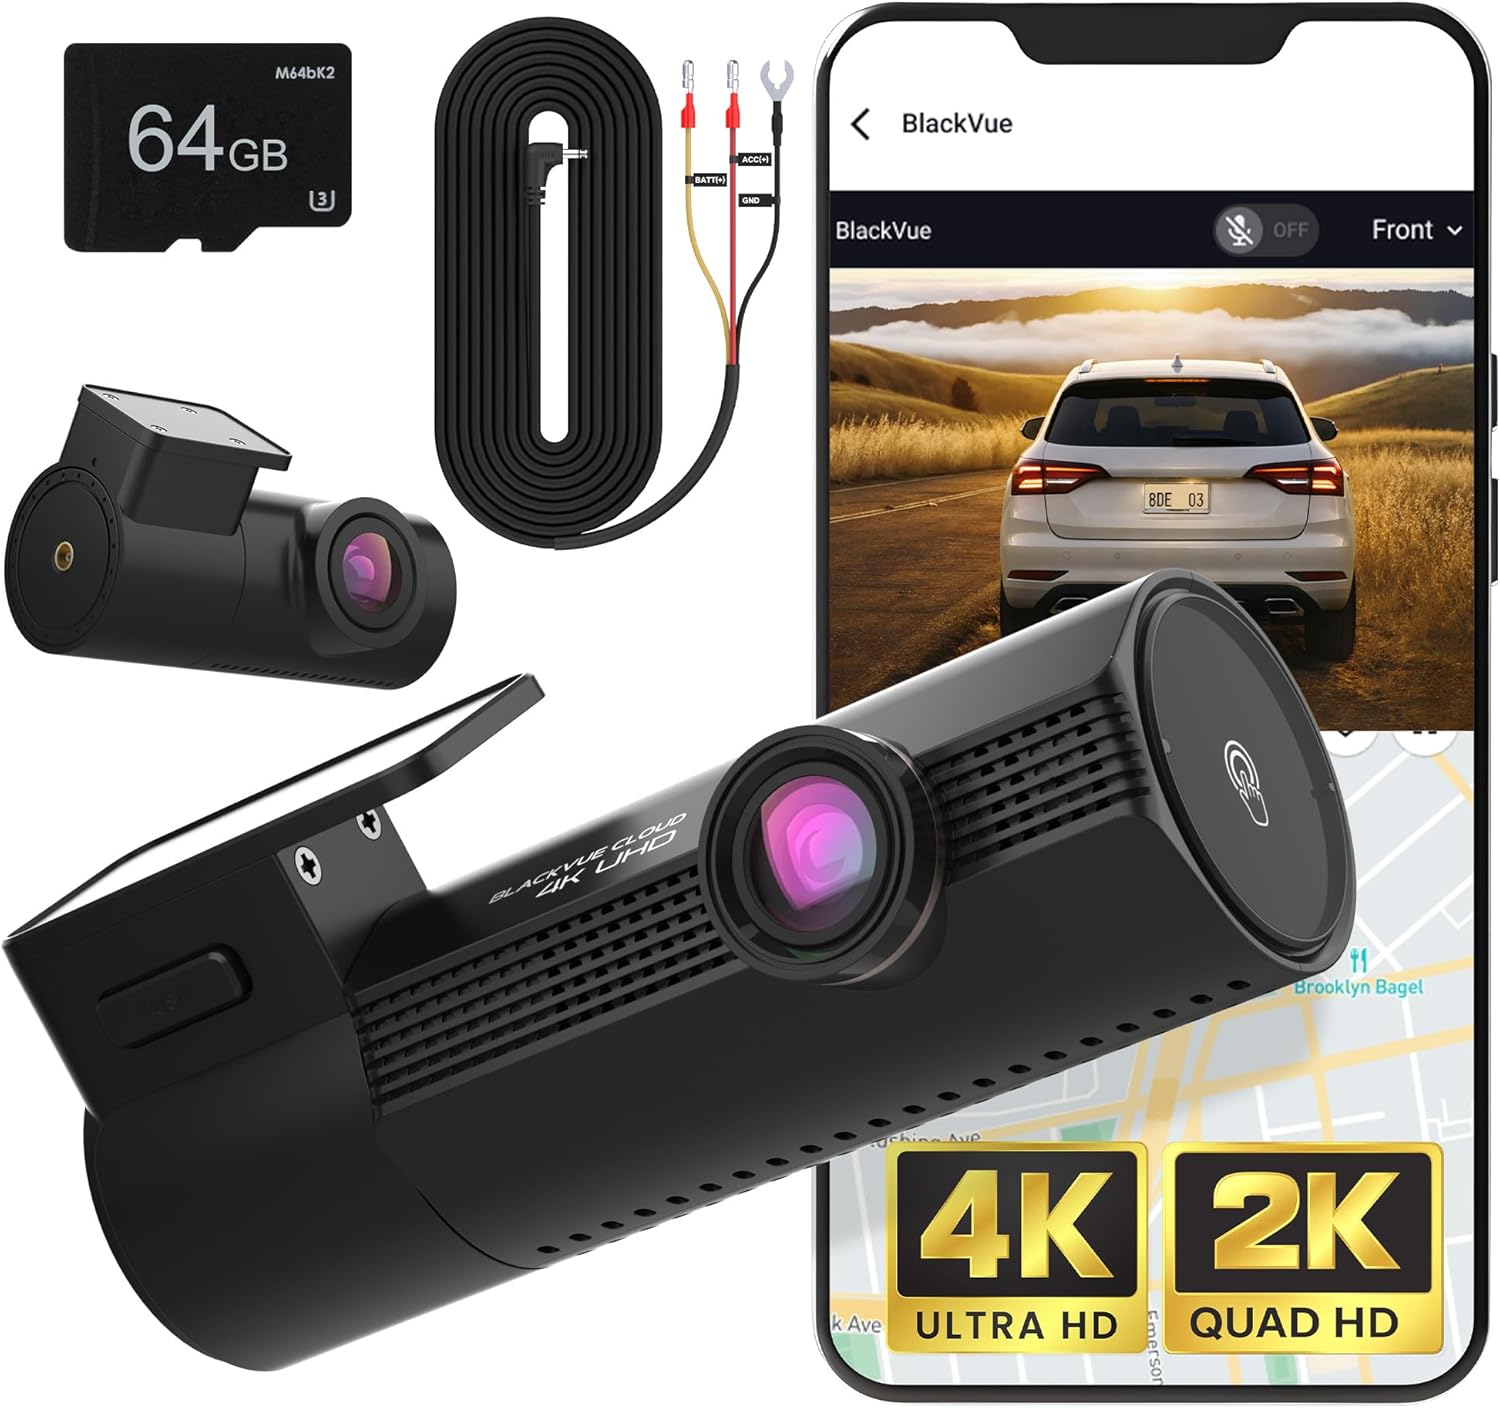
If you're still shopping: 2026 alternatives to the A139 Pro
The A139 Pro is a fantastic 3-channel cam, but it's not the only one worth considering for an R1T install in 2026. STARVIS 2 sensors are now standard on most premium cams, and several competitors have caught up on parking-mode efficiency — which matters more in an EV than an ICE vehicle. Here are the strongest alternatives if you haven't bought yet:
Vantrue N4 Pro S — closest 3-channel competitor
The N4 Pro S is the most direct A139 Pro competitor: true 3-channel (front 4K, cabin 2K, rear 2K), triple STARVIS 2 sensors, and a parking-mode draw the R1T's auxiliary battery can sustain overnight. The cabin channel is the differentiator — useful if you ever rideshare the R1T or want interior coverage during Gear Guard events. Hardwire kit is sold separately and works with the same fuse-tap method described above. Check current pricing at Vantrue N4 Pro S on Amazon.
Budget 3-channel pick with included storage
If you want 3-channel coverage at a lower price point and don't need the Vantrue's STARVIS 2 cabin sensor, this 4K front/rear/interior unit ships with a 128GB card and slots into the same install pattern. It's the easiest "add a third channel without spending Viofo money" option for an R1T in 2026. See it at this 4K 3-channel dash cam on Amazon.
VNV 4K + 2.5K dual-channel — value 2-channel option
Two channels only (front + rear), GalaxyCore sensor, 64GB included. Skip this if you want cabin coverage, but it's a credible front/rear setup for owners who just want windshield and tailgate footage. Pairs cleanly with the OBD-II hardwire route above. Pricing at VNV 4K+2.5K dash cam on Amazon.

ROVE R2-4K — proven STARVIS 2 dual-channel
If you don't need three channels, the ROVE R2-4K is the most-reviewed STARVIS 2 dual-channel cam on Amazon and runs reliably on the OBD-II hardwire approach. 128GB card included, low parking-mode draw, well-known to the EV community. View at ROVE R2-4K on Amazon.
REDTIGER 4K — entry-level pick
The lowest-cost STARVIS 2 dual-channel option here. Build quality isn't Vantrue or Viofo tier, but for an R1T owner who wants insurance-grade footage without a $300 outlay, it does the job. REDTIGER 4K on Amazon.
For a head-to-head three-channel comparison against the A139 Pro, see our Viofo A139 Pro vs Vantrue N4 Pro S breakdown and our best 3-channel dash cams of 2026 roundup.

Frequently Asked Questions
Does installing a dash cam void my Rivian R1T warranty in 2026?
No — installation alone doesn't void anything. The Magnuson-Moss Warranty Act prevents Rivian from blanket-voiding coverage just because you added an accessory. What Rivian can do is deny a claim on a specific component if your install caused the failure. A properly fused, reversible A139 Pro install on the rear cargo fuse or OBD-II port doesn't trigger that exclusion.
Can I use Gear Guard and a Viofo A139 Pro at the same time?
Yes, they don't conflict. Gear Guard records to Rivian's onboard storage using the truck's exterior cameras; the A139 Pro records to its own SD card using its own sensors. The only overlap is the 12V auxiliary battery — both pull from it during parking events, so set the A139 Pro's low-voltage cutoff to 12.4V to avoid stranding the truck.

Which fuse should I tap for an always-on circuit on a 2025 Rivian R1T?
On the Gen 2 R1T rear cargo fuse panel, slot F22 is the always-on accessory circuit most owners use for dash cam BATT leads, with F25 as the ACC tap. Verify with a 12V test light before installing the Micro2 add-a-circuit — Rivian has revised the layout once already and could again.
Will an OBD-II hardwire kit drain my Rivian's 12V battery overnight?
Not if it has a proper low-voltage cutoff. The Viofo HK4 (and most competitors' equivalents) lets you set a 12.0-12.4V floor. Below that, the cam shuts off and stops drawing. The R1T's auxiliary battery is small relative to ICE vehicles, so leave the cutoff at 12.4V rather than the default 12.0V to be safe.
Do I need to disconnect the 12V battery before wiring a dash cam to my R1T?
For a fuse-tap install you don't have to, but it's good practice. Park, lock, wait 30 minutes for the HV system to fully de-energize, and you can safely work in the rear cargo fuse panel without disconnecting. Never work near the high-voltage orange-wrapped harness regardless.
Where do I route the dash cam wire on a Rivian R1T?
From the A-pillar trim (which pulls off without tools), tuck the wire under the headliner edge, across to the C-pillar, and down behind the rear interior panel to the cargo fuse box. For the rear camera, route along the headliner to the rear glass, down the right side with strain relief, and to the cam mount on the rear glass.
Is a 3-channel dash cam worth it on a Rivian R1T, or is dual-channel enough?
If you tow, rideshare, or park in cities frequently, a 3-channel setup (Viofo A139 Pro or Vantrue N4 Pro S) is worth the extra install effort because the cabin channel captures break-in attempts that Gear Guard's exterior cameras can miss. For owners who just want crash documentation, a dual-channel cam like the ROVE R2-4K is plenty.
Key Takeaways
- Choosing the right how to wire viofo a139 pro to rivian r1t without voiding warranty means matching capacity and output ports to your actual devices
- Always check actual watt-hours (Wh), not just watts — runtime depends on Wh, not peak output
- Also covers: viofo a139 pro rivian install
- Also covers: rivian r1t dashcam hardwire safe
- Also covers: r1t fuse box dash cam tap
- Compare price-per-Wh across models to find the best value for your budget